

The Polar Sandbox was designed and built by Stan Reifel, one of Olin’s instructors for Principles of Integrated Engineering. The work was done in the fall of 2019, during the same 8 week period that his students had to complete their projects. His intention was to provide an example of what’s possible using the same tool available to them (Solidworks, Prusa 3D printing, Trotec laser cutting, Shopbot CNC routing, and the Arduino IDE).
The idea for the Polar Sandbox came from Bruce Shapiro, an artist known for his work in kinetic sculpture. He is credited as the original inventor of the “Sand Table”.
This project is dedicated to Aaron Hoover whose work in education, engineering, and design has been a constant source of inspiration. He is missed.
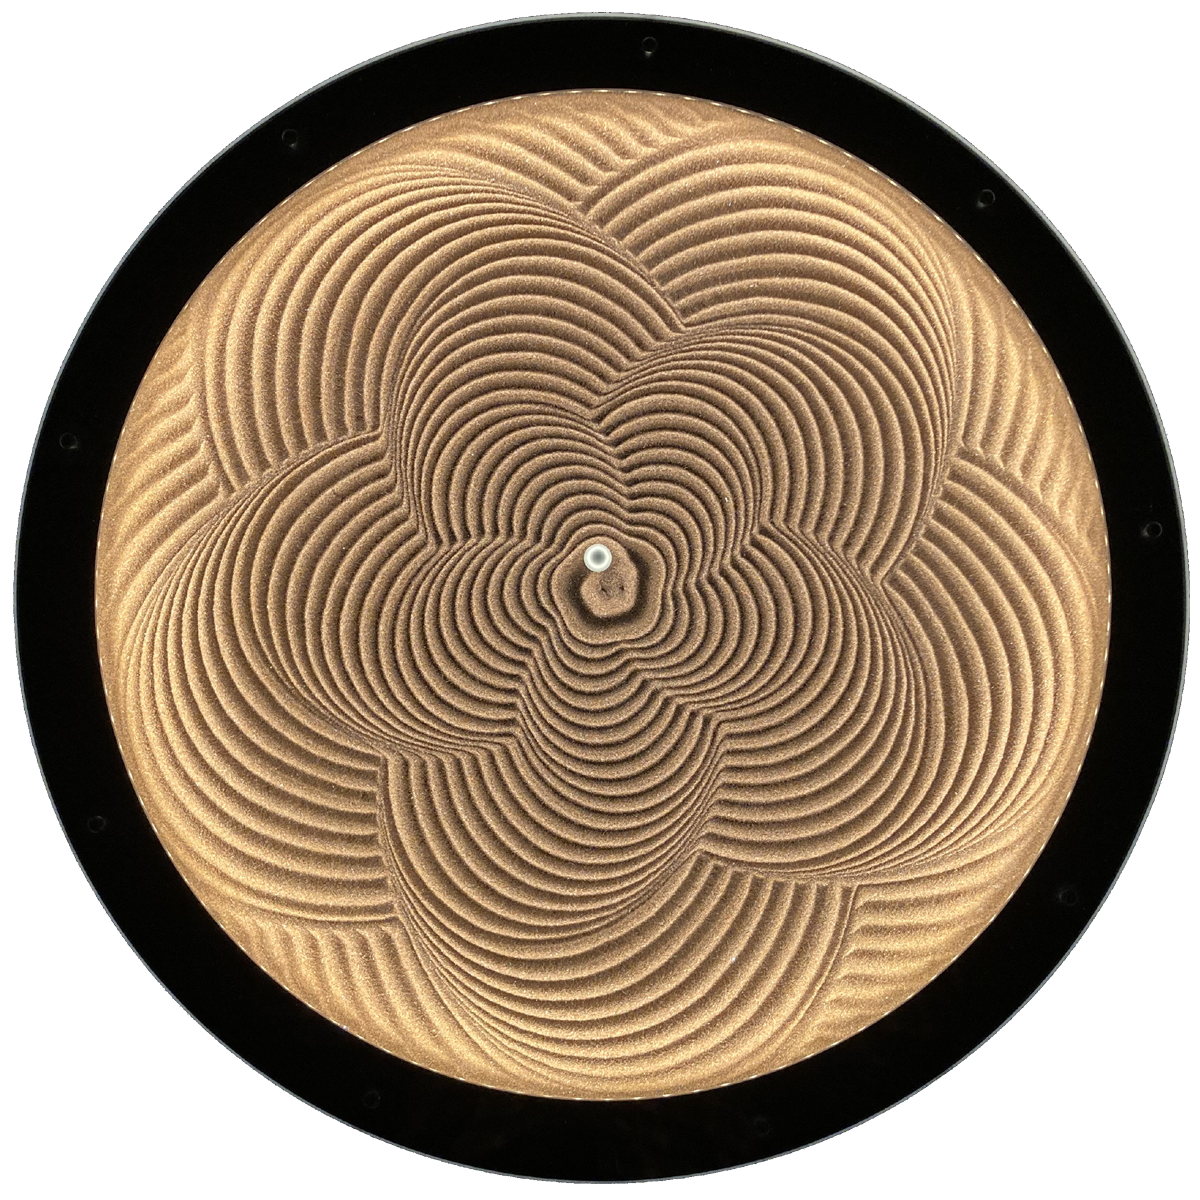
Mechanical:
The mechanical components for the Polar Sandbox were designed using Solidworks (with the exception of the bearings, pulleys, and motors purchased from Amazon). The large acrylic pieces were cut using Olin's Shopbot CNC router. The smaller acrylic parts were made with the Trotec laser cutter. All remaining parts were 3D printed, including the two-axis polar mechanism and the black outer perimeter (made in 18 segments).
Electronics:
The brain of the Polar Sandbox is a Teensy microcontroller. It was chosen because it's as easy to program as an Arduino, yet runs significantly faster (more than 100X for floating-point calculations). The software that drives the sandbox is very floating-point intensive, both for coordinating the R and Theta stepper motors and for calculating the ball's path, which relies heavily on trig. The steppers are driven using Trinamic TMC2208 controller chips. The advantage of these chips is that they drive the motors at high frequencies, resulting in very quiet operation.
A custom PCB was fabricated to control the sandbox, having the Teensy, 2 stepper drivers, 2 voltage regulators, and a touchscreen LCD. The PCB CAD software used is from expresspcb.com.
Software:
The programming for the Polar Sandbox was written in C, using the Arduino IDE. Most will look at this work and conclude that it is a mechanical project with a bit of electronics and programming. In reality, it's a software project with a bit of mechanical and electronics. The largest portion of the work was in programming and math.
Programming the Teensy is just as easy as an Arduino Uno, but it does require installing Teensyduino into the Arduino IDE. Three libraries are also required: TeensyUserInterface, ILI9341_t3, and XPT2046_Touchscreen, all in support of the touchscreen LCD.
Math:
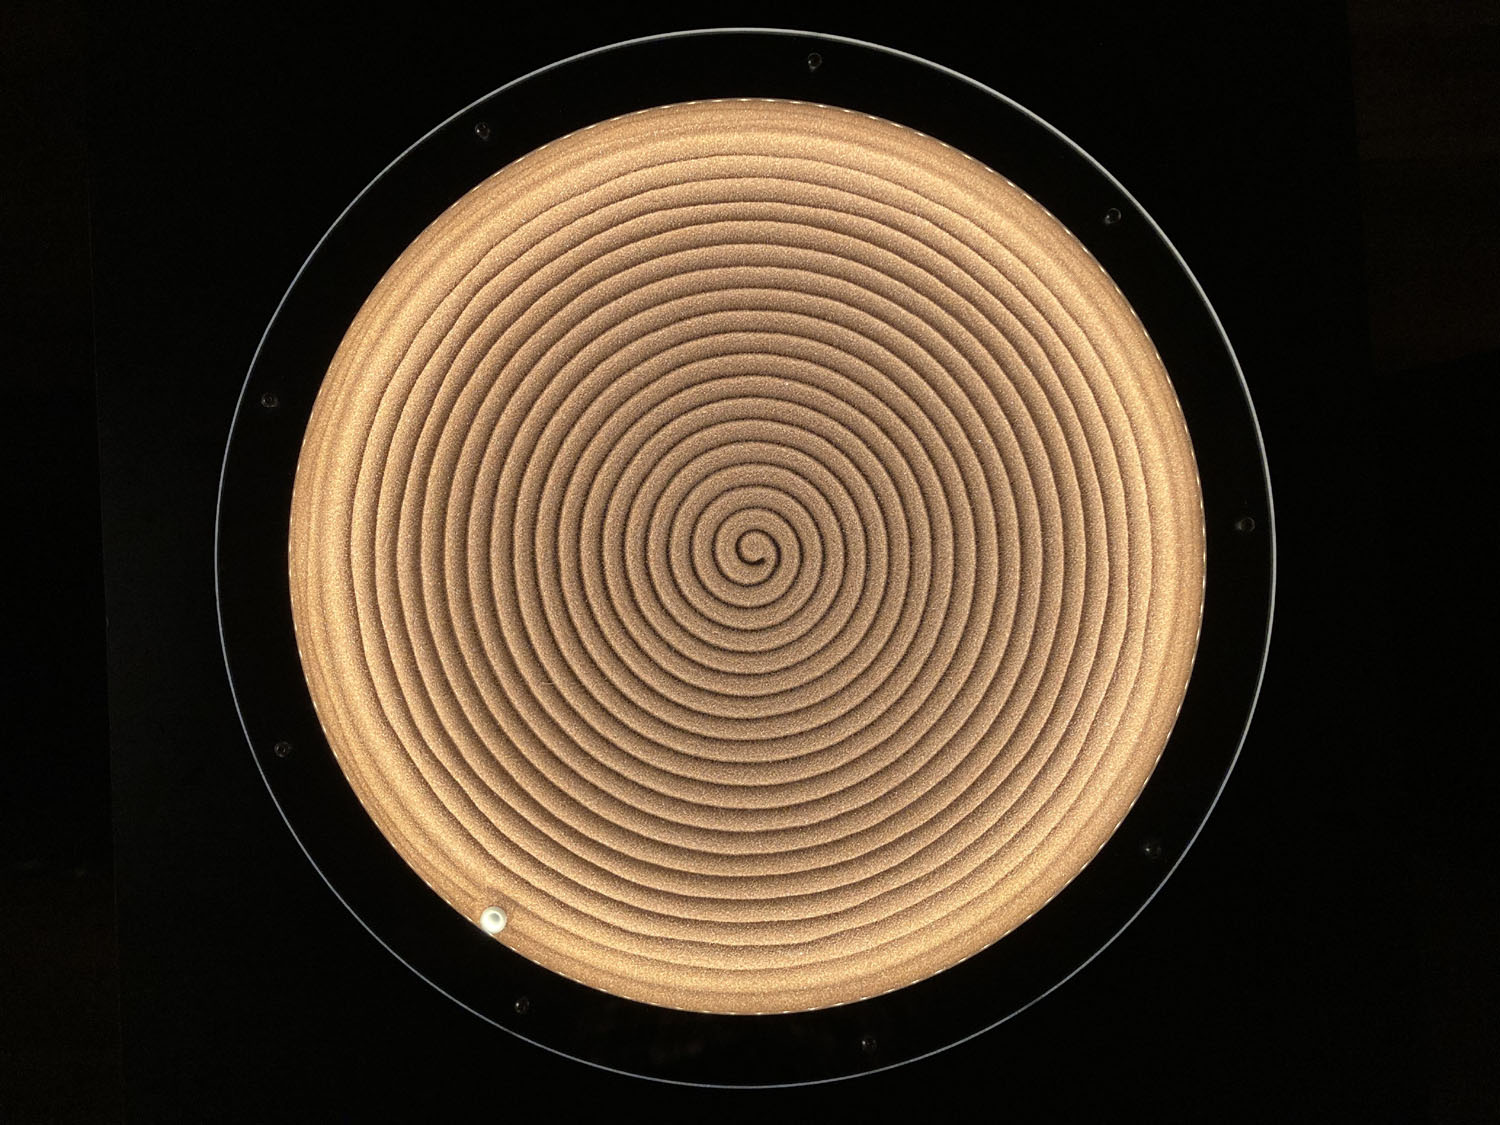
spiralPitchMM = 14;
r = (spiralPitchMM * theta / 360.0);
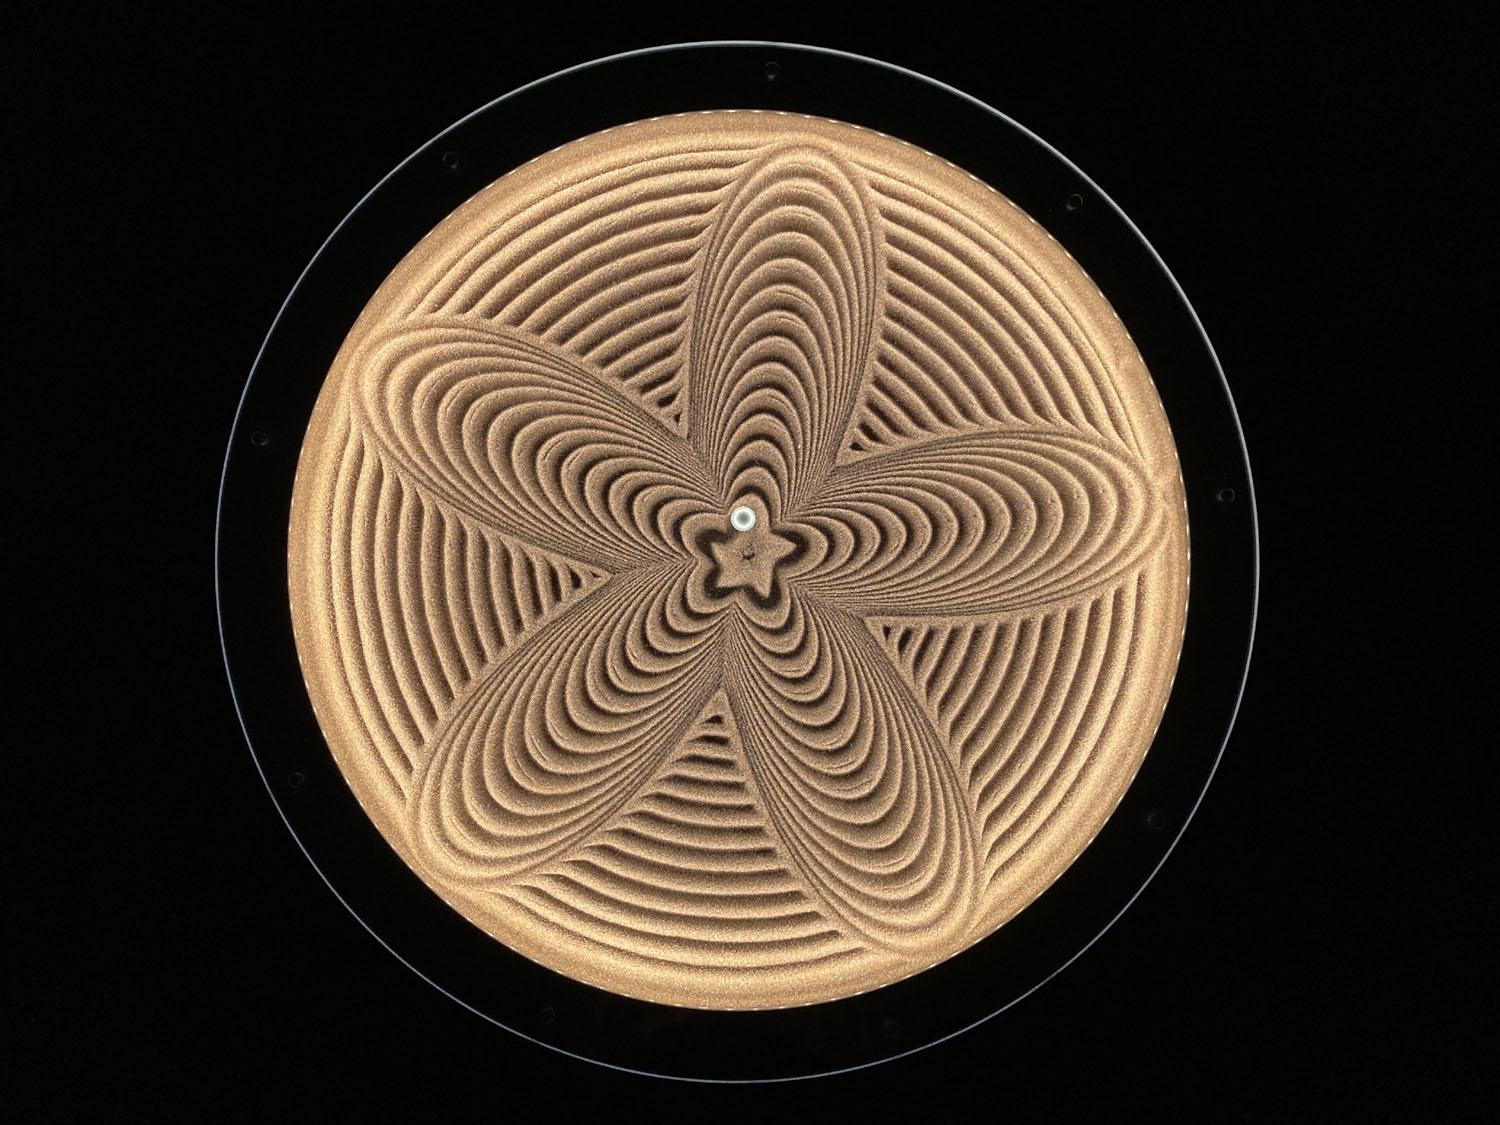
spiralPitchMM = 11;
petalsCount = 6;
r = (spiralPitchMM / 360.0 * theta) +
petalsCount * theta / 360.0 * SinD(theta * 5);
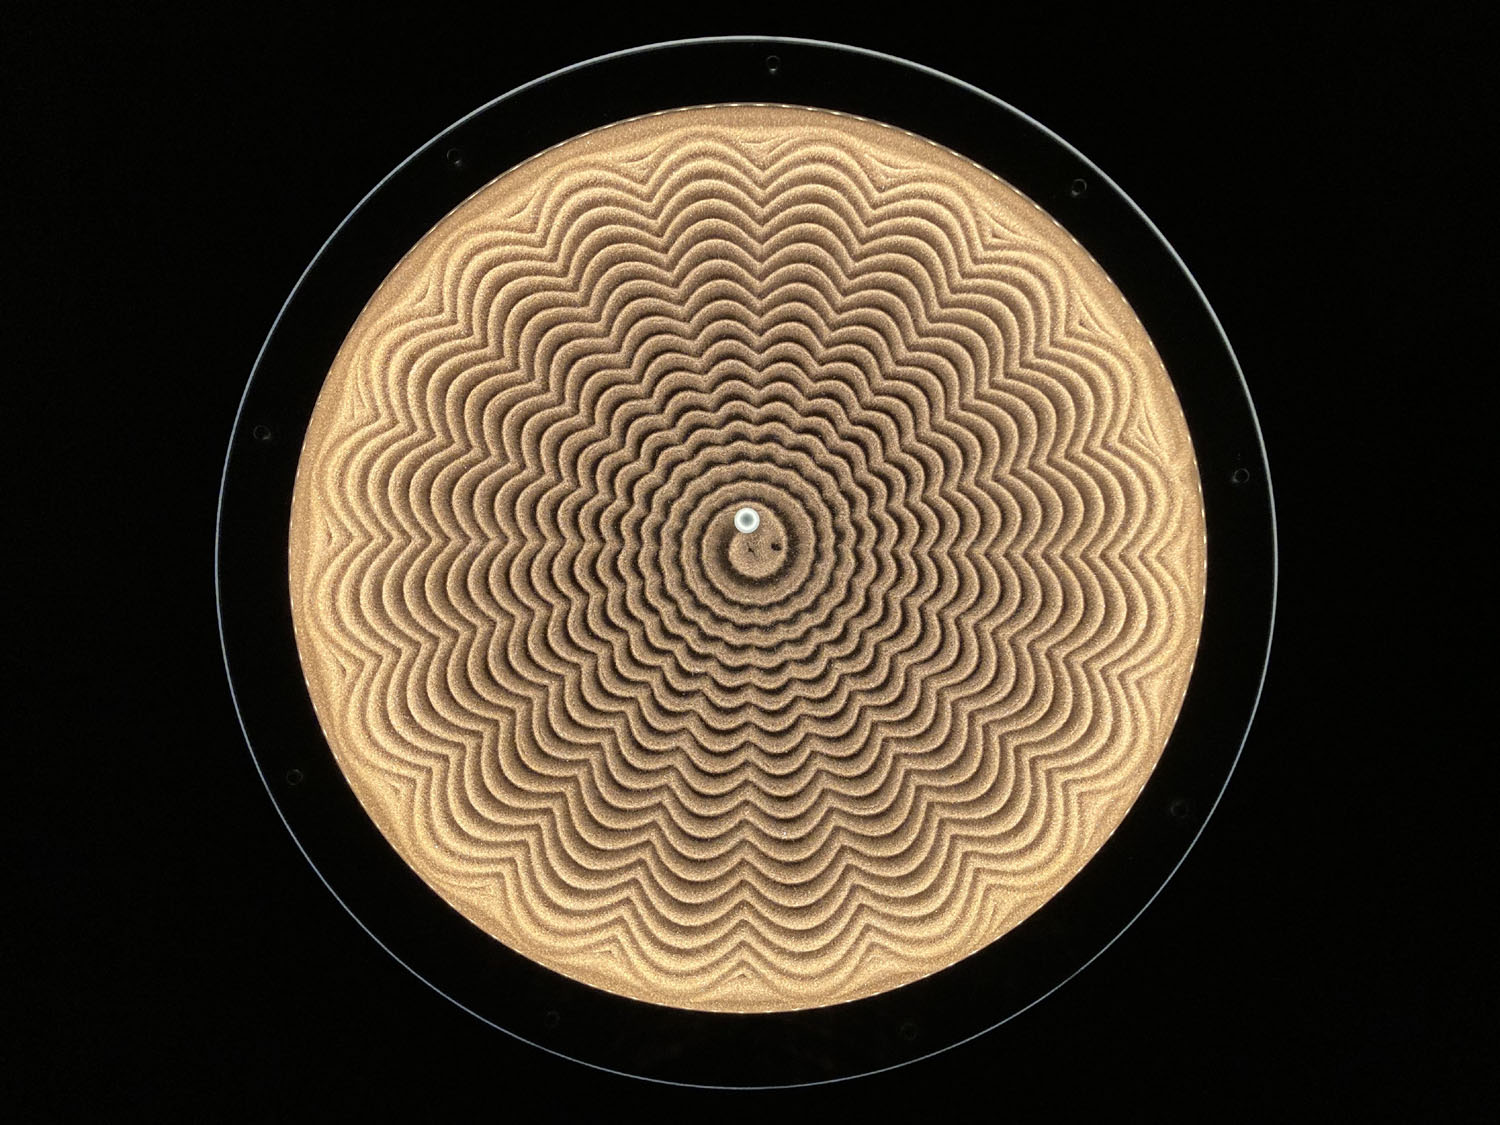
spiralPitchMM = 12;
cloverLeaves = 20;
amplitudeOffset = 6;
amplitudeScalerWithRotations = 1.1;
twistAngle = 0;
theta = theta + (theta / 360 * twistAngle);
amplitude = amplitudeOffset + amplitudeScalerWithRotations
* (theta / 360);
r = (spiralPitchMM * theta / 360.0) + abs((amplitude *
SinD(theta * cloverLeaves / 2)));
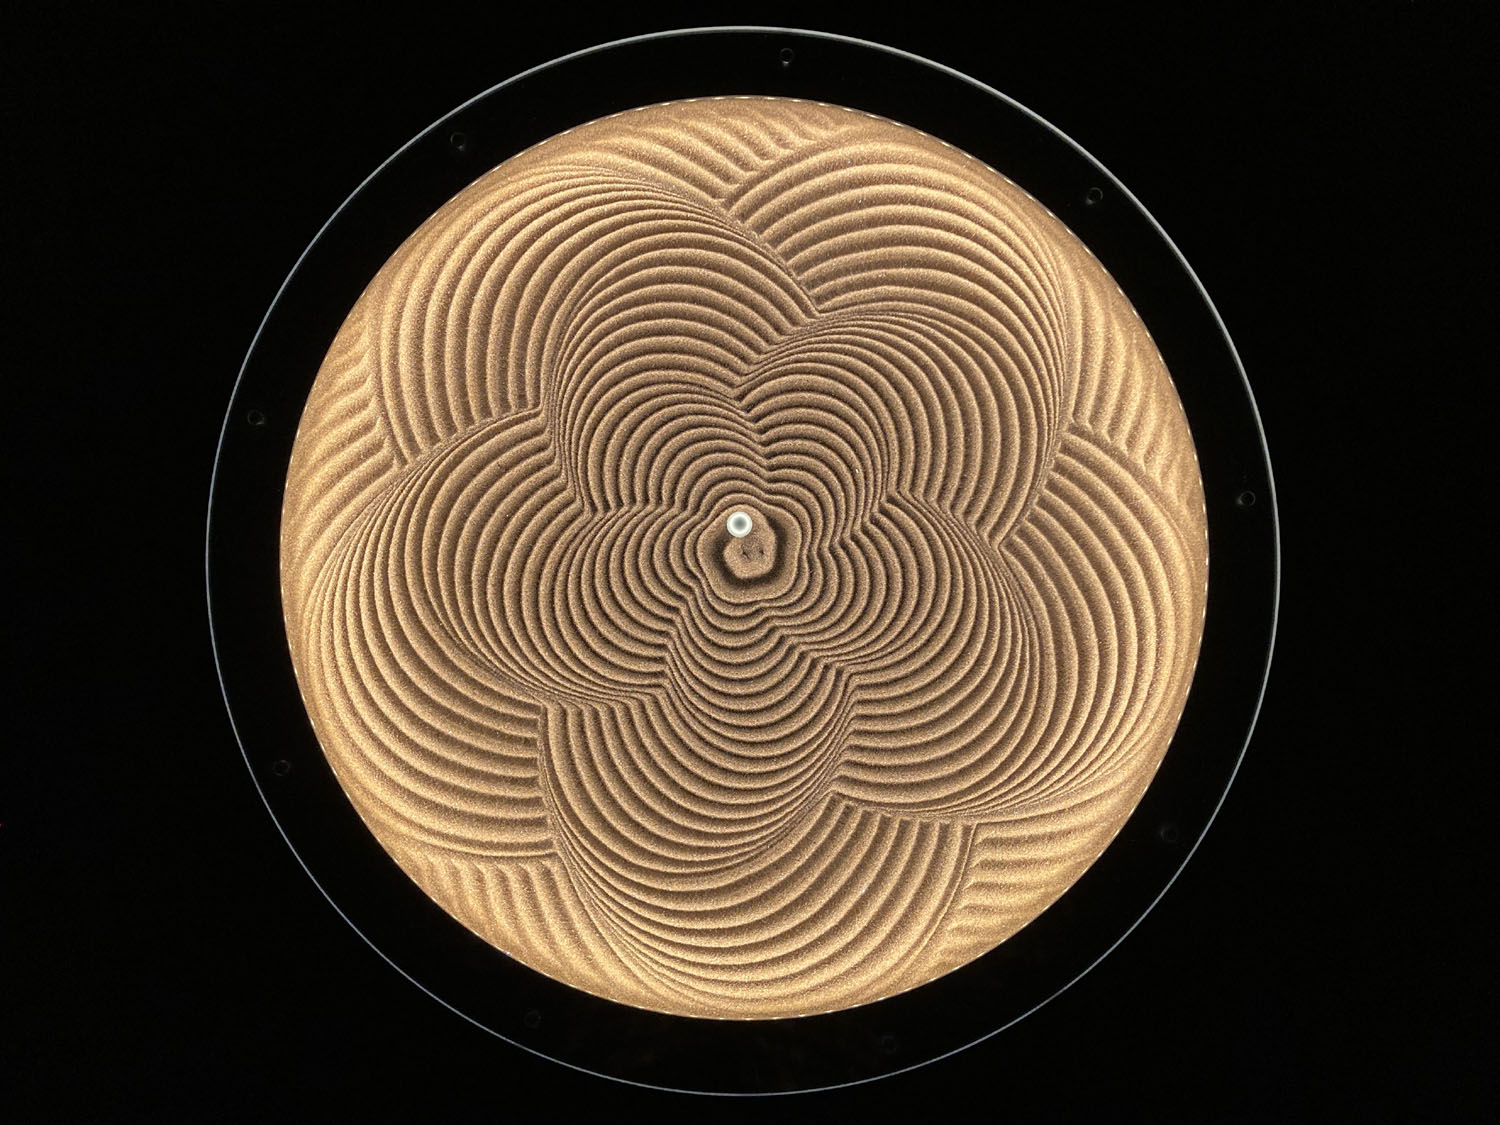
spiralPitchMM = 7;
cloverLeaves = 5;
amplitudeOffset = 0;
amplitudeScalerWithRotations = 2.5;
triangleAmplitude = 12;
trianglePeriod = 360 * 17;
triangleValue = 4 * triangleAmplitude / trianglePeriod *
abs(((long)(theta - trianglePeriod / 4) %
(long)trianglePeriod) - trianglePeriod / 2) -
triangleAmplitude;
theta = theta + triangleValue;
amplitude = amplitudeOffset + amplitudeScalerWithRotations
* (theta / 360);
r = (spiralPitchMM * theta / 360.0) + abs((amplitude *
SinD(theta * cloverLeaves / 2)));
Copyright (c) 2021 - S. Reifel & Co.